








































How To Grout Your Bathroom Tiles
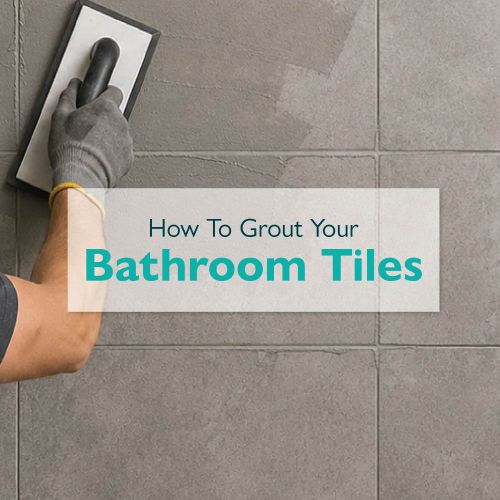
Grout is an absolutely essential aspect of tiling. It stops dirt from getting into the gaps between your tiles, but also seals the walls and floors so water can’t seep through to the wall or floor beyond.
When water does manage to creep in, you run into all sorts of problems that could actually make your tiles fail, causing unwanted cracks and movement.
That’s why we’re here to help you decide which grout to choose and to explain exactly how you grout tiles in a bathroom. We have all the grouting products you need for the job too, from grout and floats to rakes and bucket scrapers.
How To Choose Your Grout
Grout seems like a simple thing to buy, but actually the choices available can make it pretty overwhelming!
If you’re unsure, the BAL Micromax3 is a great all-rounder. It’s suitable for both walls and floors and works with most tile materials, including porcelain, ceramic, granite, limestone, marble and more. As a bonus, it’s anti-microbial, so it prevents the unwanted growth of bacteria between the tile joints and stops things like black mould from growing.
It’s also available in a huge range of colours so you aren’t just limited to white, grey or black. Choose from cornflower blue, pink champagne and peppermint to create a bathroom that’s seamlessly designed.
They also have an epoxy grout called Absolute Epoxy. While there are far fewer colours available, this grout is stronger and can be used in heavy-use areas, including in wet rooms, around power showers and even in swimming pools.
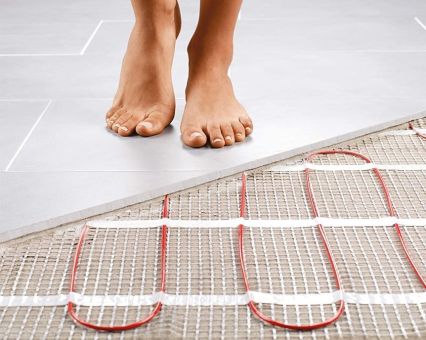
For floors with underfloor heating or extra movement (such as floating floors), you might instead need a flexible grout, such as UltraTile’s ProGrout Flexible. Just like the BAL Micromax3, it’s suitable for most tile materials but it offers enhanced flexibility, which could reduce cracking and other similar grout damage that occurs over time.
Tools You Need To Grout Your Tiles
Once you’ve chosen and purchased your grout, there are a few other tools and materials you need, including:
- A mixing paddle (for mixing the grout with water)
- A clean bucket
- A suitable grouting float
- A sponge (or two)
- Gloves
- A couple of microfibre cloths

Step 1: Prepare Your Tiles
Before you go ahead and grout, first check how prone your tiles are to staining.
Apply the grout to an offcut or spare tile and wipe it away to check it doesn’t leave a streaky-coloured residue behind. If it does, then consider applying a protective sealer and test the tile again. You don’t want to ruin your newly installed tiles with grout and have to replace everything, so this simple step could save you a big problem later.
You should also:
- Allow the tile adhesive to set for 24 hours before grouting
- Remove the tile spacers
- Clean any debris or remaining residue from the grout lines with a rake
- Clean any adhesive off the surface of the tiles
Then, mask off any areas you don’t want to get grout on. This could be a glass shower screen or a painted wall if the bathroom tiles are in a half-wall design.

Step 2: Mix Your Grout With Water
If you’re using powdered grout (rather than ready-mixed), follow the manufacturer’s instructions and mix your grout and water together in a clean bucket. We’d recommend that you mix a little bit at a time instead of the whole tub. This is because once it’s mixed with water, the solution will begin to dry out and this makes it quite tricky to grout with. Therefore, only mix the amount of grout you need for a small section.
Some planning may be needed to figure out how you will break up the sections you’ll be grouting, instead of trying to do a full wall in one go.
Step 3: Apply The Grout To The Tiles
Start in a place that seems sensible, e.g. a top corner of a wall. Just keep in mind that you won’t grout around the edge of the floor where it meets the walls or where one wall meets another wall at a 90-degree angle (the internal joints). All of these should be sealed with a silicone sealant instead, like the BAL Micromax2 Silicone sealant.
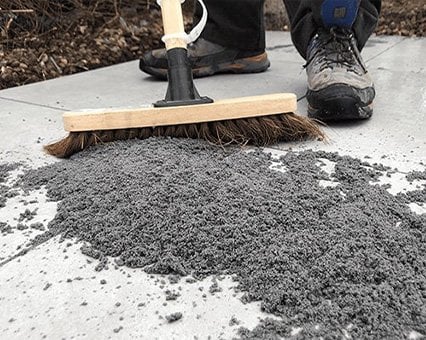
Scoop some grout onto your float and apply it to the tile while holding the grout float at a 45 degree angle. The aim is to push the grout into the joints as far as possible to create a good seal.
We’d recommend that you work in small areas (up to 10 square feet works well) and ensure that there are no air pockets or gaps in the grout. Use the edge of the float to remove as much excess as you can and then use this on the next section of tiles.
Let the grout dry for around 15 minutes until it’s touch dry (it may need longer if the room temperature is lower than 18 degrees or it’s a particularly humid room).

Step 4: Wipe Off The Residue
Use a damp (not wet) sponge to clean the grout residue off the tiles, working diagonally rather than up and down. Rinse the sponge regularly so you aren’t just smearing the grout around and avoid overwashing, as this can start to remove some of the grout’s colour and you’ll be left with lighter patches.
Step 5: Smooth Your Grout Lines
Before the grout has fully set, use your sponge to run along the grout lines with a little bit of pressure to smooth them out. The sponge shouldn’t be really wet, just slightly damp.
Step 6: Remove The Final Haze Of Grout
You may still be left with some haze on the surface of the tiles, but that’s not a problem. Allow a further 60 minutes for the grout to set before you gently go over the tiles again with a clean, damp cloth, and then dry them with a microfibre.
If you’ve grouted the inside of a shower, then you should let the grout cure fully before using the shower. This could take around two weeks.
Read more from us
May 21st 2015 | 4 min read | By Owen