


























Small Bathroom Tile Ideas: How to Choose the Right Size, Colour and Layout
Choosing tiles for a small bathroom can feel more complicated than it should. There are hundreds of colours, shapes and finishes available, along with plenty of conflicting advice about what you should and should not use in a compact room.
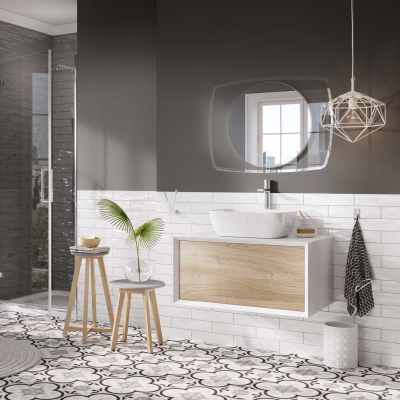
The good news is that there is no single tile size or colour that every small bathroom needs. Large-format tiles can work just as well as mosaics, while dark colours can be every bit as effective as white when they are supported by the right lighting and layout.
The best tiles for a small bathroom are the ones that suit the proportions of the room, work with the available light and can be installed without awkward cuts or excessive wastage.
Tile size is only part of the decision. The direction in which the tiles are laid, the colour of the grout, the surface finish and the amount of visible clutter will all affect how the completed bathroom looks and feels.
This guide explains how to choose wall and floor tiles for a small bathroom, including practical advice on tile sizes, colours, layouts, grout and installation.
What Tiles Are Best for a Small Bathroom?
Large or medium-format tiles are often a good choice for a small bathroom because they create fewer grout lines and a more continuous finish. However, smaller tiles and mosaics can also work beautifully well on shower floors, splashbacks, niches and feature walls.
The most suitable option will depend on:
-
The width and height of the walls
-
The shape of the room
-
The position of the bath, shower, toilet and basin
-
The amount of natural and artificial light
-
The number of tile cuts required
-
The condition of the walls and floor
-
Your preferred colour scheme
-
The level of cleaning and maintenance you are comfortable with
Rather than choosing a tile based on size alone, look at how the full tile layout will work within your actual room.
Small Bathroom Tile Choices at a Glance
|
Area |
What to Consider |
|
Tile size |
Room proportions, grout lines and the number of cuts |
|
Wall tiles |
Light reflection, cleaning and the overall style |
|
Floor tiles |
Slip resistance, durability and suitability for wet areas |
|
Colour |
Available light and the atmosphere you want to create |
|
Finish |
Gloss, matt, polished, textured or natural-effect surfaces |
|
Layout |
Horizontal, vertical, brick, grid or patterned arrangements |
|
Grout |
Whether it blends with or contrasts against the tile |
|
Feature areas |
Where pattern, colour or texture will have the most impact |
|
Installation |
Preparation, waterproofing, tile wastage and finishing details |
1. Choose a Tile Size That Works with the Room
It is often said that small bathrooms need small tiles. In practice, large, medium and small tiles can all work in compact spaces.
The important question is not simply whether a tile is large or small. It is whether its dimensions work with the width and height of the walls, the floor area and the position of the bathroom fixtures.
A tile that fits neatly across one wall may require several awkward cuts on another. This is why it is worth planning the layout before ordering the full quantity.
Large-Format Tiles in a Small Bathroom
Large-format tiles can create a clean and contemporary finish in a compact bathroom.
Because fewer tiles are needed to cover each surface, there are usually fewer grout joints. This can make the walls and floor appear less broken up and give the overall scheme a more continuous look.
Common large-format tile sizes include:
-
600 x 300mm
-
600 x 600mm
-
800 x 400mm
-
900 x 450mm
-
1200 x 600mm
These are only examples. What is considered large format can vary between tile collections.
Large tiles may suit your bathroom if:
-
The walls are relatively straight
-
You want a simple, uncluttered finish
-
You prefer fewer grout lines
-
You want to use the same tile across several surfaces
-
The tile dimensions work neatly with the walls and floor
-
You are creating a stone, marble or concrete-effect scheme
However, large tiles are not automatically the best option for every small bathroom.
Rooms with several alcoves, boxed-in pipes, sloping ceilings or irregular corners may need numerous cuts. This can increase wastage and make it harder to create a balanced layout.
Large-format tiles also need a suitably level surface. Any unevenness in the wall or floor can become more noticeable when a larger tile is installed, so the background may need additional preparation.
Ask your installer to work out where the full tiles and cut tiles will sit before the final layout is agreed.
Medium-Format Tiles
Medium-format tiles are a practical alternative when very large tiles do not suit the room.
They usually create fewer grout lines than mosaics but can be easier to fit around bathroom furniture, alcoves, windows and pipework.
Common medium-format sizes include:
-
400 x 200mm
-
500 x 250mm
-
300 x 300mm
-
450 x 450mm
Medium tiles may be particularly useful in bathrooms with:
-
Narrow walls
-
Several corners
-
Boxed-in plumbing
-
Recesses or niches
-
A mixture of full-height and half-height tiling
-
Closely positioned fixtures
-
More complicated tile cuts
They are available in a wide range of styles, including marble, stone, patterned and metro-inspired designs. Choosing a practical size does not mean compromising on the overall look.
Before ordering, consider how the tile will sit behind the basin, around the toilet and within the shower or bath area. A slightly smaller format may produce a more balanced layout with fewer narrow cuts.
Small Tiles and Mosaics
Small tiles can bring colour, texture and detail into a bathroom. They are also useful in areas where a larger tile would be difficult to install.
Mosaics and smaller tiles can work particularly well on:
-
Shower floors
-
Recessed niches
-
Basin splashbacks
-
Curved surfaces
-
Feature walls
-
Decorative borders
-
Bath panels
-
Areas requiring more grip
Mosaic sheets can follow slopes and changes in level more easily than large tiles. This can make them suitable for some shower floors, where the surface needs to fall towards the drain.
The main consideration is the number of grout lines. Small tiles create a more detailed surface, which can make the bathroom feel busier and may require more regular grout cleaning.
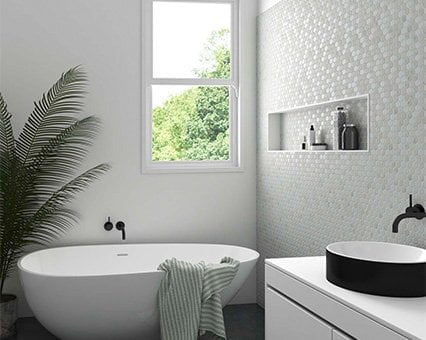
You do not need to use one tile size throughout the entire room. A large or medium-format tile can provide a simple base, with mosaics used inside a niche or behind the basin to add interest.
2. Decide How You Want the Bathroom to Feel
Colour has a significant effect on the atmosphere of a small bathroom.
Light tiles can create a fresh and understated look, while darker colours can produce a richer and more enclosed feel. Neither approach is automatically right or wrong.
Start by deciding whether you want the bathroom to feel:
This will help narrow down the tile colours and finishes that are most likely to suit the room.
Light-Coloured Tiles
White, cream, beige, soft grey and other pale shades are popular choices for compact bathrooms.
They can help reflect available light and create a bright, simple backdrop. This may be particularly useful in a bathroom with a small window or no natural light.
A light tile scheme may suit you if:
-
You want the room to feel fresh and open
-
The bathroom has limited daylight
-
You prefer a neutral design
-
You want to add colour through furniture or accessories
-
The room needs to coordinate with the rest of your home
A light bathroom does not need to be completely white.
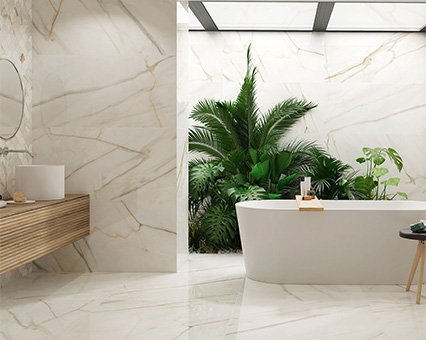
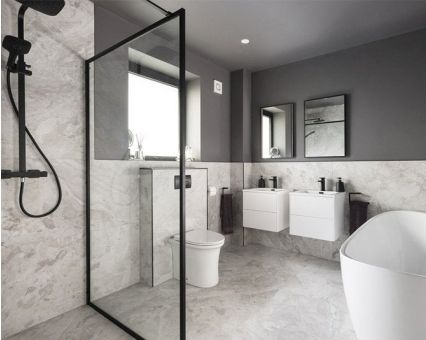
Warm stone effects, pale terrazzo, soft marble patterns and neutral textured tiles can create a brighter appearance while adding more depth and warmth.
Using several slightly different neutral tones can also prevent the scheme from feeling flat or clinical.
Dark Tiles in a Small Bathroom
Dark tiles can work very well in a small bathroom.
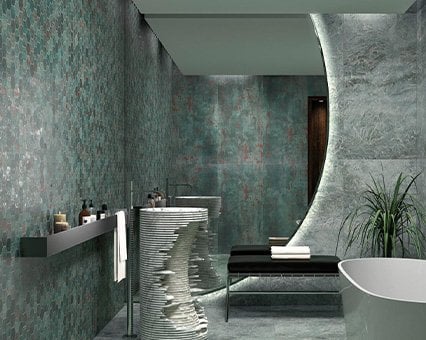
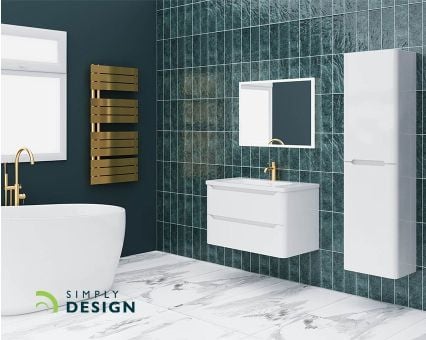
Deep blue, forest green, charcoal, burgundy and black can create a more atmospheric space. Rather than trying to make the bathroom appear larger, a darker scheme can embrace its compact dimensions and create a more deliberate, enclosed feel.
Dark tiles may suit your bathroom if:
-
You want a more distinctive design
-
The room has well-planned artificial lighting
-
You prefer a cosy or dramatic atmosphere
-
You want to highlight one wall or area
-
The bathroom is an ensuite or separate cloakroom
-
You are combining the tiles with lighter furniture or sanitaryware
The key is to consider the entire scheme.
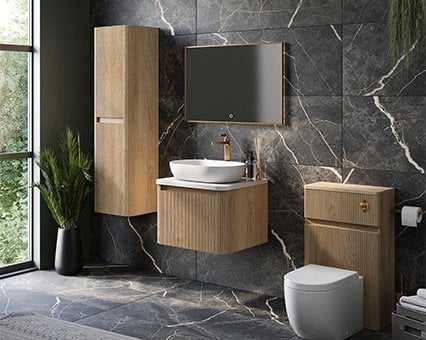
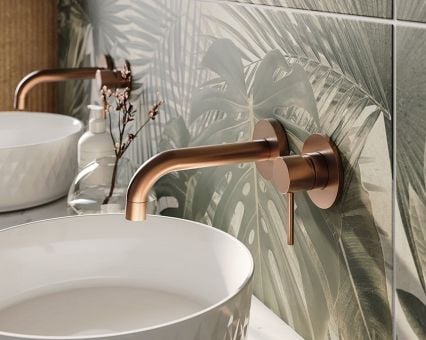
Dark wall tiles can be balanced with a pale ceiling, white sanitaryware, a large mirror or lighter flooring. Warm metallic finishes, such as brushed brass or bronze, can also soften deeper colours.
Mixing Light and Dark Tiles
A two-tone scheme allows you to introduce a stronger colour without using it on every surface.
Possible combinations include:
-
Dark floor tiles with pale walls
-
Dark lower walls with a lighter colour above
-
A deep-coloured shower area with neutral tiles elsewhere
-
A patterned floor with simple wall tiles
-
Dark furniture against pale stone-effect tiles
-
One bold feature wall surrounded by softer colours
There is no need to divide the room exactly in half. The balance should suit the height of the walls and the position of the main products.
For example, darker tiles could be used around the bath or inside the shower, while the remaining walls use a lighter coordinating finish.
3. Choose Between Gloss and Matt Tiles
Tile finish affects the appearance of the bathroom as well as its practical maintenance.
Gloss Tiles
Gloss wall tiles reflect natural and artificial light. This can help brighten a small or windowless bathroom and works particularly well around a basin or shower.
Gloss tiles are available in plain, marble-effect, metro and patterned designs. Their reflective finish can also add a polished or more decorative feel.
However, they may show:
-
Water marks
-
Soap residue
-
Fingerprints
-
Smears after cleaning
This does not make gloss tiles unsuitable, but it is worth considering how much maintenance the chosen colour and finish may require.
Gloss tiles are usually used on walls rather than floors. Always check the product specification before deciding where a tile will be installed.
Matt Tiles
Matt tiles create less reflection and can provide a softer, more natural finish.
They work particularly well with:
-
Stone-effect designs
-
Concrete-effect tiles
-
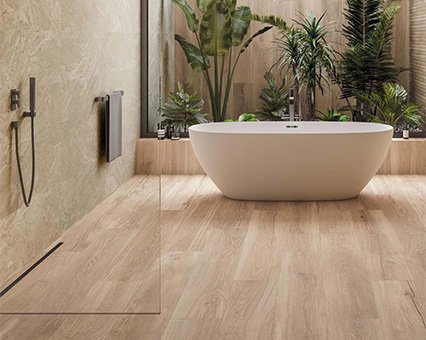
Wood-effect finishes
-
Warm neutral schemes
-
Darker colours
-
Contemporary bathrooms
Matt tiles may hide minor water marks more effectively than high-gloss surfaces, although their maintenance will depend on the texture and colour of the tile.
For bathroom floors, check that the tile is designed for floor use and offers a suitable level of slip resistance for the intended area.
A tile that looks suitable in a showroom may behave differently when wet, so practical suitability should always come before appearance.
4. Plan the Tile Layout Before Installation
The way tiles are positioned can change how the bathroom looks.
Before installation begins, confirm:
-
Where the first full tile will be placed
-
Where the cut tiles will appear
-
How the grout lines will align
-
Whether rectangular tiles will be horizontal or vertical
-
How the tiles will meet bathroom furniture
-
Where patterns will begin and end
-
How corners and external edges will be finished
A planned layout can prevent very narrow tile cuts from appearing in prominent positions.
Straight or Grid Layout
A straight layout places tiles in even horizontal and vertical rows.
It creates a clean, ordered finish and works well with square and rectangular tiles. This is often a good choice when the tile itself has a strong pattern or detailed surface.
A straight layout may also be easier to coordinate across adjoining walls.
Horizontal Tile Layout
Rectangular tiles laid horizontally can draw the eye across the width of a wall.
This may be useful in a narrow bathroom, although the effect will depend on the tile proportions and the width of the grout joints.
Horizontal layouts work particularly well with:
-
Metro tiles
-
Marble-effect rectangles
-
Stone-effect tiles
-
Brick-bond patterns
-
Half-height wall tiling
Vertical Tile Layout
Turning a rectangular tile vertically can emphasise the height of a wall.
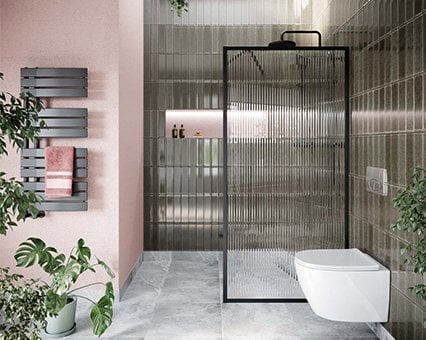
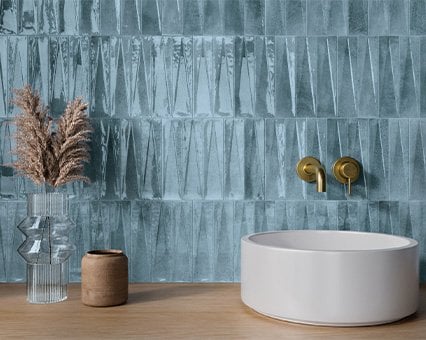
This can work well behind a basin, within a shower enclosure or on a feature wall. Long, narrow tiles can create a particularly strong vertical line.
A vertical arrangement does not physically increase the ceiling height, but it can change where the eye is drawn when entering the room.
Brick-Bond Layout
A brick-bond layout offsets each row of tiles, usually by half or one-third of the tile length.
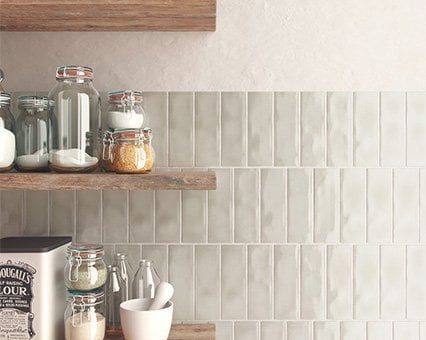
This can add movement and works particularly well with metro, brick and rectangular tiles.
Before choosing the offset, check the tile manufacturer’s installation guidance. Some longer tiles may require a particular overlap to reduce the appearance of uneven edges.
Diagonal Tile Layout
Square tiles can be laid diagonally to create a diamond pattern.
The angled lines introduce movement and can make a floor feel less defined by the straight edges of the room. This may suit a traditional, patterned or more decorative scheme.
Diagonal layouts usually involve more cuts around the perimeter and may require additional tiles. They can also make an already detailed design appear busier, so consider how the pattern works with the walls and furniture.
Herringbone and Chevron Layouts
Herringbone and chevron layouts can add character to a small bathroom.
They work well:
-
Behind the basin
-
Inside the shower
-
Across a feature wall
-
On a compact floor
-
Around a bath
These layouts involve more cuts and careful alignment, so they may take longer to install than a standard grid.
Using a herringbone pattern in one selected area can provide a focal point without making the entire room feel overly complicated.
5. Consider Using the Same Tile on the Walls and Floor
Using the same tile, or closely coordinating tiles, across the walls and floor can create a connected and consistent scheme.
Stone-effect, marble-effect, concrete-effect and terrazzo tiles are often available in several formats, making it easier to use related designs throughout the bathroom.
This approach can:
-
Reduce strong visual breaks
-
Create a more continuous background
-
Make furniture and brassware stand out
-
Simplify the overall colour palette
-
Give the bathroom a more coordinated appearance
However, the exact same product will not always be suitable for both surfaces.
A wall tile may not be strong enough or slip-resistant enough for floor use. Check the product details carefully and choose a coordinating floor tile where necessary.
You can also introduce a small amount of contrast. For example, use the same tile colour on the walls and floor but choose different sizes or finishes to define each surface.

6. Use Feature Tiles with Purpose
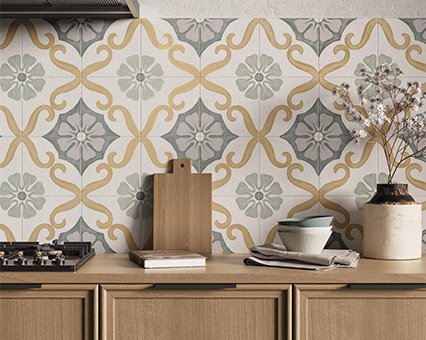
Patterned, textured and brightly coloured tiles can bring personality into a small bathroom.
The most effective feature areas are usually the ones that are naturally visible when entering the room.
Good locations include:
-
The wall behind the basin
-
The shower wall
-
The wall at the end of a narrow room
-
The floor
-
A recessed niche
-
The side of the bath
-
The wall behind a freestanding bath
Using one main feature tile can help create a clear focal point.
Several unrelated patterns, colours and tile shapes may compete with one another, particularly in a compact space. Try to connect the feature tile to another element in the room, such as the furniture colour, worktop, tap finish or wall paint.
A feature does not need to be highly patterned. Texture, a change in tile shape or a slightly deeper shade can provide enough contrast.
7. Choose the Right Grout Colour
Grout is a practical part of the installation, but it also affects the overall design.
A grout colour that closely matches the tile will create a softer and more continuous appearance. Contrasting grout makes the shape and arrangement of the tiles much more noticeable.
Matching Grout
Examples of matching combinations include:
Matching grout may suit you if you want the tile colour or pattern to be the main focus.
The grout does not need to be identical to the tile. A slight difference can still look coordinated while making individual joints easier to see during cleaning.
Contrasting Grout
Contrasting grout outlines each tile and emphasises the layout.
It works particularly well with:
White tiles with dark grout create a strong grid, while dark tiles with pale grout produce an equally noticeable contrast.

In a small bathroom, contrasting grout can add character, but it will also make the surface appear more detailed. Consider whether this complements the rest of the room.
Grout Maintenance
Very pale grout on the floor may show dirt more readily. Dark grout may show pale soap marks or deposits from hard water.
The correct grout product, suitable installation and regular cleaning will help maintain the finish.
Ask your installer which grout is appropriate for the tile, the joint width and the area in which it will be used.
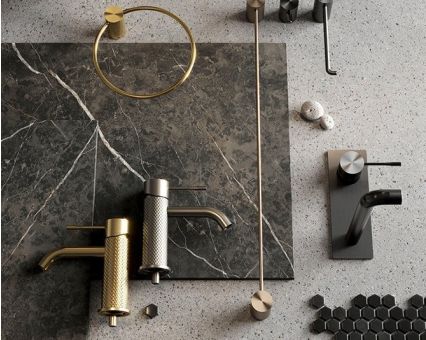
8. Coordinate Tiles with Paint, Furniture and Brassware
Tiles should be chosen as part of the full bathroom scheme rather than in isolation.
Bring samples together with the:
-
Vanity unit
-
Worktop
-
Basin
-
Bath or shower tray
-
Wall paint
-
Tap finish
-
Shower frame
-
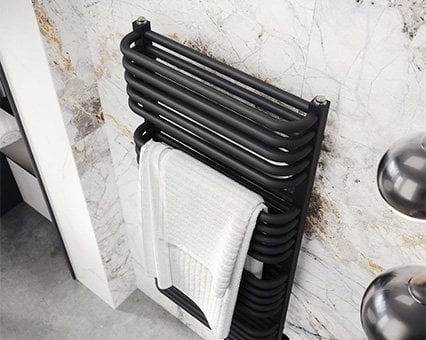
Towel rail
-
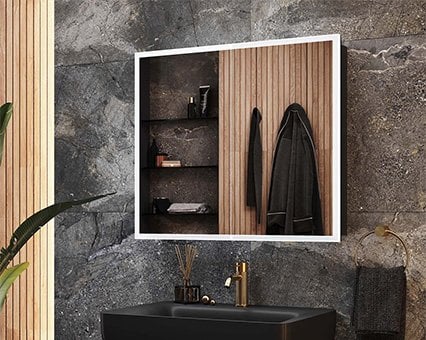
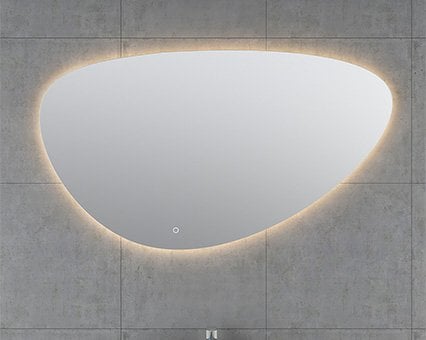
Mirror
-
Lighting
Colours can appear different under showroom lighting, natural daylight and warm or cool artificial light. Take tile samples into the room where possible and view them at different times of day.
Not every bathroom wall needs to be fully tiled.
Painted sections can soften the overall look, introduce another colour and reduce the amount of tiling required. Choose paint that is suitable for bathroom conditions and the expected level of moisture.
You should also consider the colour of the door frames, skirting boards, window frames and any boxed-in pipework. Coordinating these details can help the completed room feel more intentional.
9. Plan Storage Alongside the Tiles
A bathroom can have a well-planned tile scheme and still feel cramped if every surface is covered with toiletries.
Storage should be considered before the tiling begins, particularly if you want recessed niches or concealed cabinets.
Recessed Niches
A tiled niche provides storage inside the wall rather than projecting into the room.
Niches work well:
-
Inside a shower
-
Above a bath
-
Beside a basin
-
Above a concealed toilet cistern
They can be tiled to match the surrounding wall or finished with a contrasting mosaic or feature tile.
The wall structure, niche size and waterproofing all need to be considered before installation. Think about the height of the bottles and products you intend to store rather than choosing the dimensions based only on appearance.
Mirrored Cabinets
A mirrored cabinet combines storage and a reflective surface.
Shallow wall-mounted or recessed designs can keep toiletries hidden while helping light move around the bathroom.
Before choosing one, check:
-
The width, height and depth
-
How far the doors open
-
The position of the basin and tap
-
Whether electrical connections are required
-
The wall construction
-
The height of the people using it
Wall-Hung Vanity Units
A wall-hung vanity unit provides concealed storage while leaving part of the floor visible underneath.
This can make cleaning easier and allows the floor tile to continue beneath the furniture.
Check that the unit does not project too far into the room and that its drawers or doors can open without hitting the toilet, shower screen or doorway.

10. Prepare for the Installation
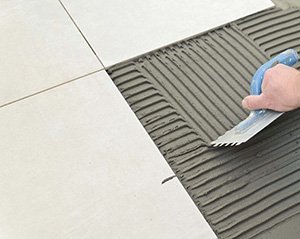
The final result depends on the quality of the installation as well as the tile you select.
Before ordering, confirm the total area to be covered and include an allowance for cuts, breakages and possible future repairs.
Approximately 10% extra is often used as a starting point for a straightforward tile layout. More may be needed for:
-
Diagonal patterns
-
Herringbone layouts
-
Pattern matching
-
Irregularly shaped rooms
-
Several corners and alcoves
-
Tiles with greater variation
-
Large tiles requiring several cuts
Your installer or tile supplier should calculate the amount required for the specific room and layout.
Before the work starts, confirm:
-
Which walls and floors will be tiled
-
Whether any walls will be half tiled
-
The direction of the tile layout
-
The position of the full and cut tiles
-
The width and colour of the grout
-
How external corners will be finished
-
Whether tile trims are required
-
How niches and window reveals will be tiled
-
Whether the surfaces need levelling
-
What waterproofing is needed in wet areas
-
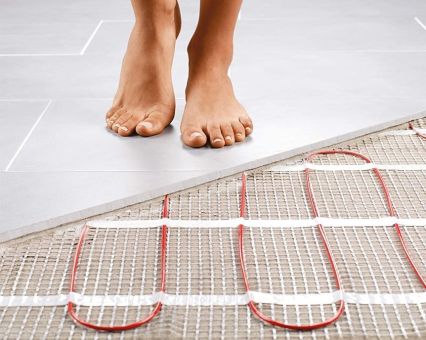
Whether underfloor heating is being installed
-
Where movement joints may be required
Tiles with stone, marble, wood or shade variation should normally be taken from several boxes during installation. This helps distribute the different colours and patterns across the room rather than concentrating similar tiles in one area.
Keep a small number of spare tiles once the bathroom is complete. They may be useful if a tile needs replacing later, especially if the range is eventually discontinued.
Small Bathroom Tile FAQs
Do large tiles make a small bathroom look bigger?
Large tiles can help create a more continuous appearance because they usually require fewer grout lines. However, the final effect will depend on the room shape, tile colour, grout and layout.
A large tile is not always the most practical choice if the room has several corners or requires many narrow cuts.
What colour tiles make a small bathroom look bigger?
Light colours such as white, cream, beige and pale grey can reflect more available light and create a brighter appearance.
However, colour alone will not determine how spacious the bathroom feels. Lighting, mirrors, grout, furniture and clutter will also affect the result.
Can you use dark tiles in a small bathroom?
Yes. Dark tiles can create a rich, cosy and more dramatic bathroom.
Balance them with suitable lighting, mirrors, lighter sanitaryware or contrasting surfaces where necessary. Dark colours are particularly effective when the aim is to create a distinctive design rather than simply make the room appear larger.
Are gloss or matt tiles better for a small bathroom?
Gloss tiles reflect more light and may suit a darker bathroom. Matt tiles create a softer, more natural appearance and are available in a wide range of stone, concrete and wood effects.
The best option depends on the surface, design and maintenance requirements. Floor tiles should always be suitable for the area and offer appropriate slip resistance.
Should bathroom wall and floor tiles match?
They can match, but they do not have to.
Using the same or coordinating tiles can create a connected scheme. Contrasting wall and floor tiles can add definition and allow one surface to become a feature.
Always check that each product is suitable for its intended use.
What tile layout makes a small bathroom look wider?
Horizontal rectangular tiles can draw the eye across a wall and may help emphasise its width. A continuous wall and floor scheme can also reduce visual breaks.
The effect will depend on the dimensions of the tiles and the room, so ask to see the proposed layout before installation.
What tile layout makes a bathroom look taller?
Rectangular tiles positioned vertically can emphasise the height of a wall.
This works particularly well behind a basin or inside a shower. The effect is usually strongest when the tiles have a long, narrow shape.
Can patterned tiles be used in a small bathroom?
Yes. Patterned tiles can be used across the floor, on a feature wall or within a smaller area such as a splashback or shower niche.
Using them selectively may make it easier to balance the pattern with the bathroom furniture and other finishes.
What grout colour is best for a small bathroom?
A grout shade close to the tile colour will create a softer and more continuous finish. Contrasting grout will make the shape and layout of each tile more noticeable.
The right choice depends on whether you want a calmer surface or a stronger pattern.
How much extra tile should I order?
Around 10% extra may be suitable for a simple layout. More could be required for complex cuts, diagonal arrangements, herringbone patterns or tiles that need to be matched.
Ask your installer or tile supplier to calculate the amount based on your chosen layout.
Should a small bathroom be fully tiled?
It does not have to be.
Full-height tiling can create a practical and coordinated finish, while part-tiled walls allow you to introduce paint and may reduce the total project cost.
Areas exposed directly to water will need suitable protection, so discuss the planned coverage and waterproofing with your installer.
How Easy Bathrooms Can Help
Easy Bathrooms can support you with the design, product selection and installation of your small bathroom.
Our services include:
-
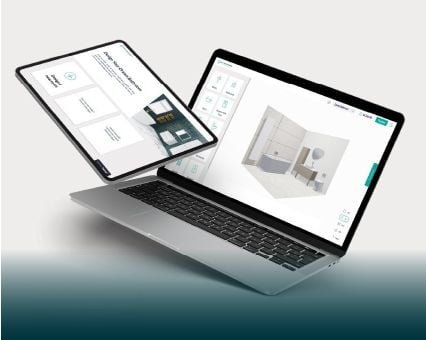
Free 3D bathroom design
-
Bathroom layout and product guidance
-
Wall and floor tiles
-
Tile samples
-
Bathroom furniture and storage
-
Taps, showers and accessories
-
Delivery planning
-
Fully managed installation through Simply Install
-
Support from your local Easy Bathrooms showroom
Bring your room measurements to a design appointment so the team can understand the size and layout of the space.
A 3D design can then help you compare different tile combinations, product positions and colour schemes before making your final decisions!
Start Planning Your Small Bathroom
There is no rule that says a small bathroom must use tiny white tiles.
Large-format tiles can create a clean, continuous appearance, while medium tiles may be easier to work with in an irregular room. Mosaics and smaller formats can introduce texture and detail when used in shower areas, niches or feature zones.
Light colours and gloss finishes can help reflect light, but darker tiles and bold patterns can create an equally successful scheme when they are chosen with care.
The most important step is to plan the tiles alongside the furniture, lighting, storage and installation. A tile that looks attractive on its own should also work with the proportions and practical requirements of the room.
Book a free bathroom design appointment to discuss your small bathroom and tile options.
Alternatively, find your nearest Easy Bathrooms showroom and speak to your local team.
Read more from us
May 21st 2015 | 4 min read | By Owen